This article details how Admins can create segments of Users, called Audiences.
What Are Audience Segments?
In NPressive, segmentations of Users are called Audiences. While they share many similarities with Groupings in that one can send messages and share files with them. Audience segments differ, however, in the following ways:
Dynamically generated: Users are included/excluded based on set matching criteria
Automatically updated: If a user no longer matches criteria, they will automatically be removed
Why Audience Segments?
The reasons to consider an Audience segment over a Grouping are as follows:
Management-free: Because Audiences are automatically updated, an admin or manger doesn't have to do anything to manage it.
Membership Directory: Because inclusion in an Audience segment is based on user data, they make for ideal auto-generated membership directories.
How to Create an Audience Segment
There are two ways to create an Audience segment:
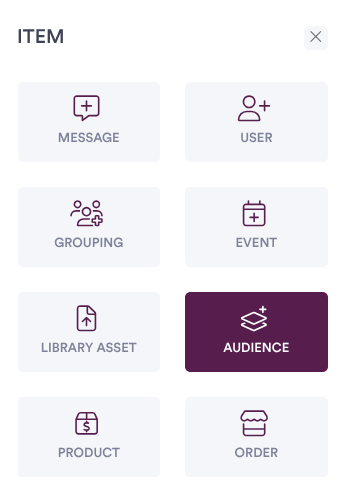
1) Select the Add Item button in the upper right of a desktop screen, and then select the Audience option.
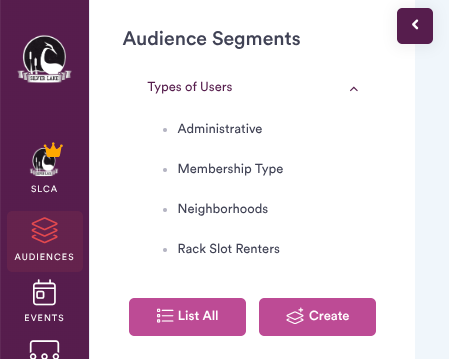
2) Select the Audience module in the left of the desktop screen, and then select the Create button.
Both pathways will take you to the New Audience Wizard, which will walk you through the steps to create an Audience object.
New Audience Wizard
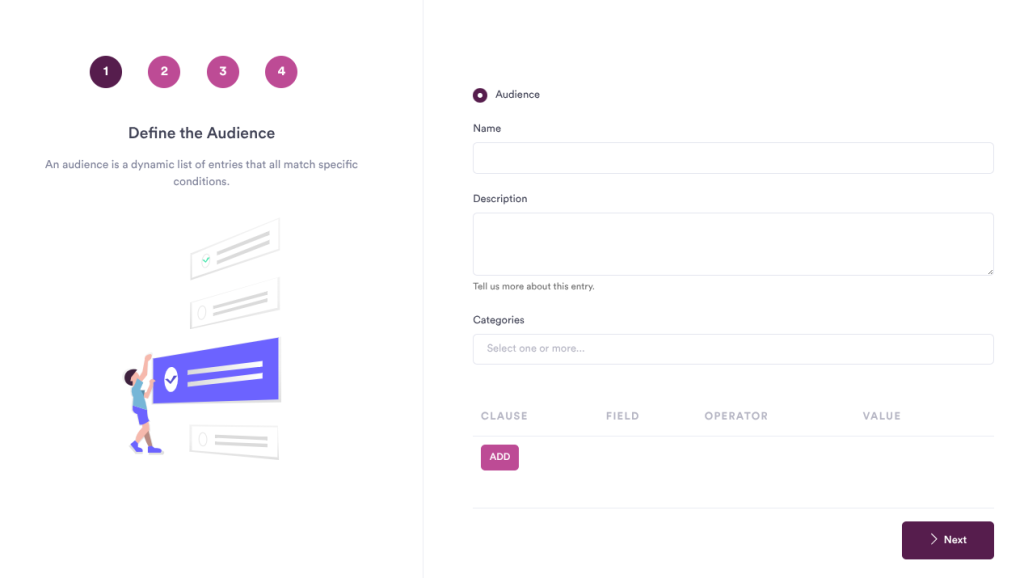
Step One
Name: The display name for the object
Description: The description that will appear on the Audience overview
Categories: Select from a hierarchal taxonomy to categorize the Audience
Matching Logic: Create a matching logic by selecting the Clause, Field, Operator, and Value.
While you can create matching logic for any use profile field, we recommend creating & managing taxonomies. To get started, simply select Cagetory (Field > Account > Categories) or Tags (Field > Account > Tags).
Matching Scope: You may require more than one matching condition by selecting the And button; to expand the scope of matching conditions, select the Or button
Step Two
When you press the Next button, you will receive a count of matching records. To adjust, select the Previous button, or press Next to continue.
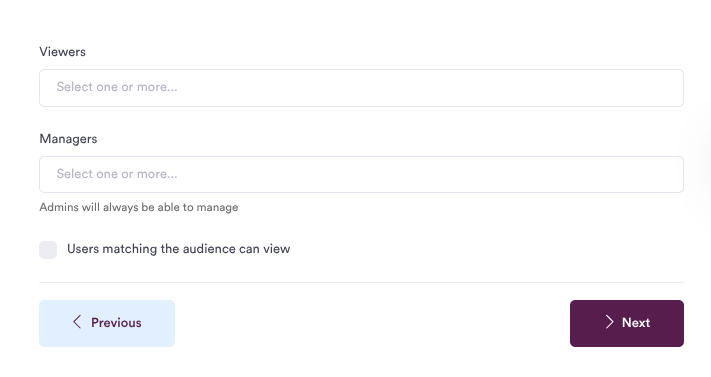
Step Three
Managers: Grant specific Users permissions to manage the new Audience
Viewers: Grant specific Users, Groupings, or Contacts to view the new Audience; you can not select other Audiences to view an Audience object.
Users matching the audience can view: Select this checkbox if you want all the Users within the Audience to view the new Audience
Step Four
Message: Adjust the message body as desired
Notify users of their access to this audience: Select this checkbox if you email all the Viewers and Managers regarding their access to this New Audience.
To complete and activate the new Audience, press Finish button.


